How to Run Automated UI Tests from a VS App Center Build
Visual Studio App Center continues to amaze and impress me.
Over Christmas break, I set up CI (Continuous Integration) and Release/App Store builds for all my little app projects - which was truly a delightful experience - and they’ve been humming along smoothly.
It’s surprising how quickly I’ve already taken them for granted. I push code, they build, run the automated launch test on a real device, I get a nice email to install the build on test devices, and can push it to the app stores if it makes the cut. So nice. It’s hard to imagine I used to do it any other way.

Apart from the builds, I think the next most important feature of a good DevOps pipeline is automated testing. We all write unit tests (right???!), which I think is really valuable, but even on my small apps, there are functional areas that I rarely test anymore - now that development of that feature is done.
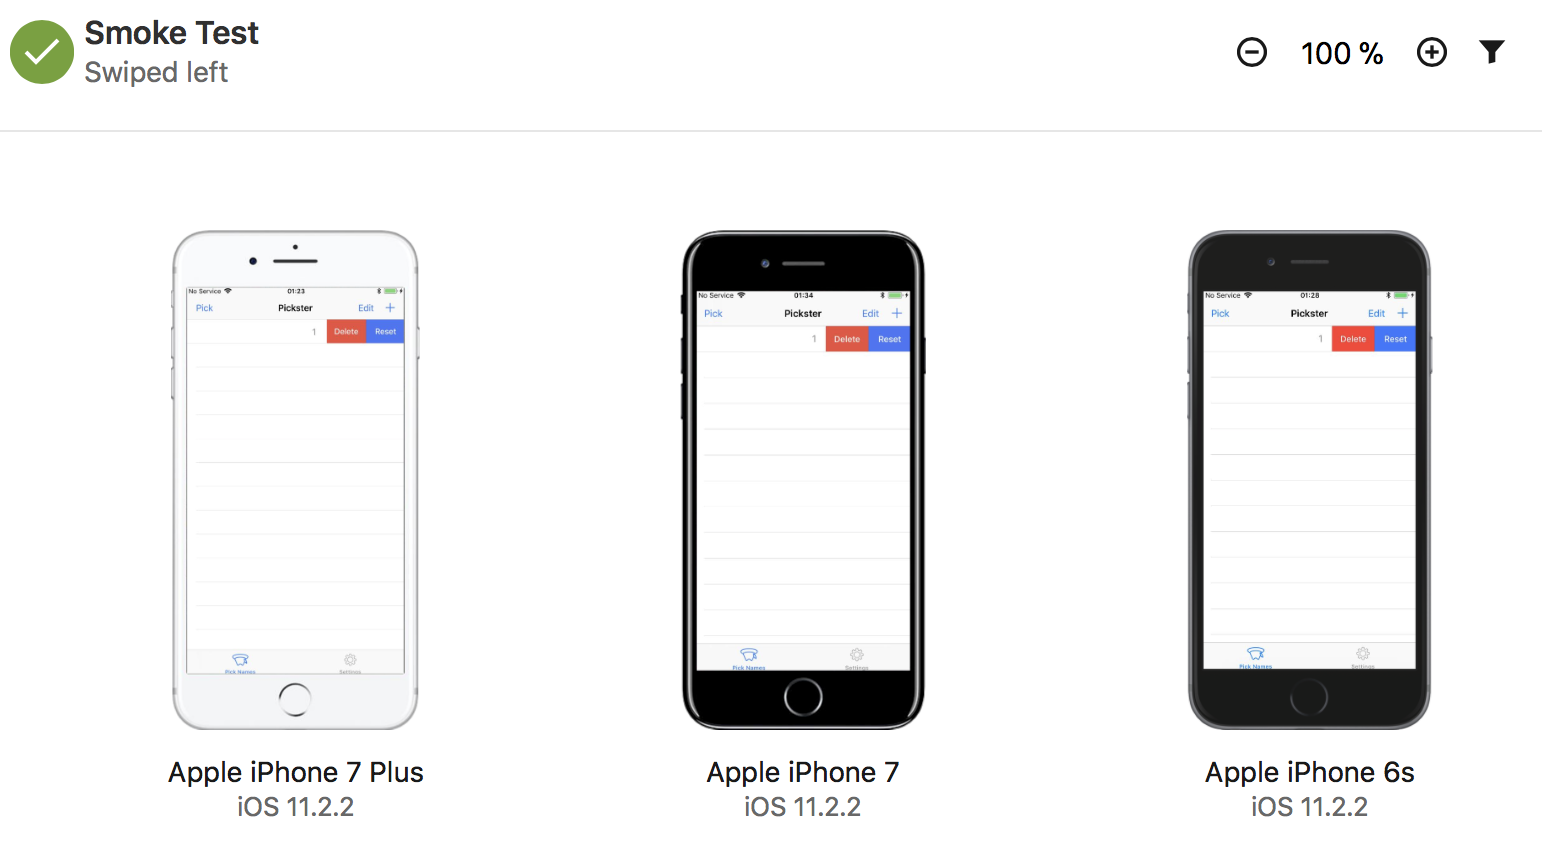
For example, one of my apps, Pickster, features a ListView of names where you can swipe on any name and be presented with a context action to delete the name. I realized the other day that I haven’t personally tested that functionality for probably 6 months or so. It’s just not part of my regular use. I add names a lot as I’m developing and testing, but hardly ever delete one or use those context actions. This app doesn’t even really do a lot, but has areas that rarely get manual testing love. Think of big apps. Humans just aren’t good at testing everything, or testing it the same way every time.
Enter automated UI tests.
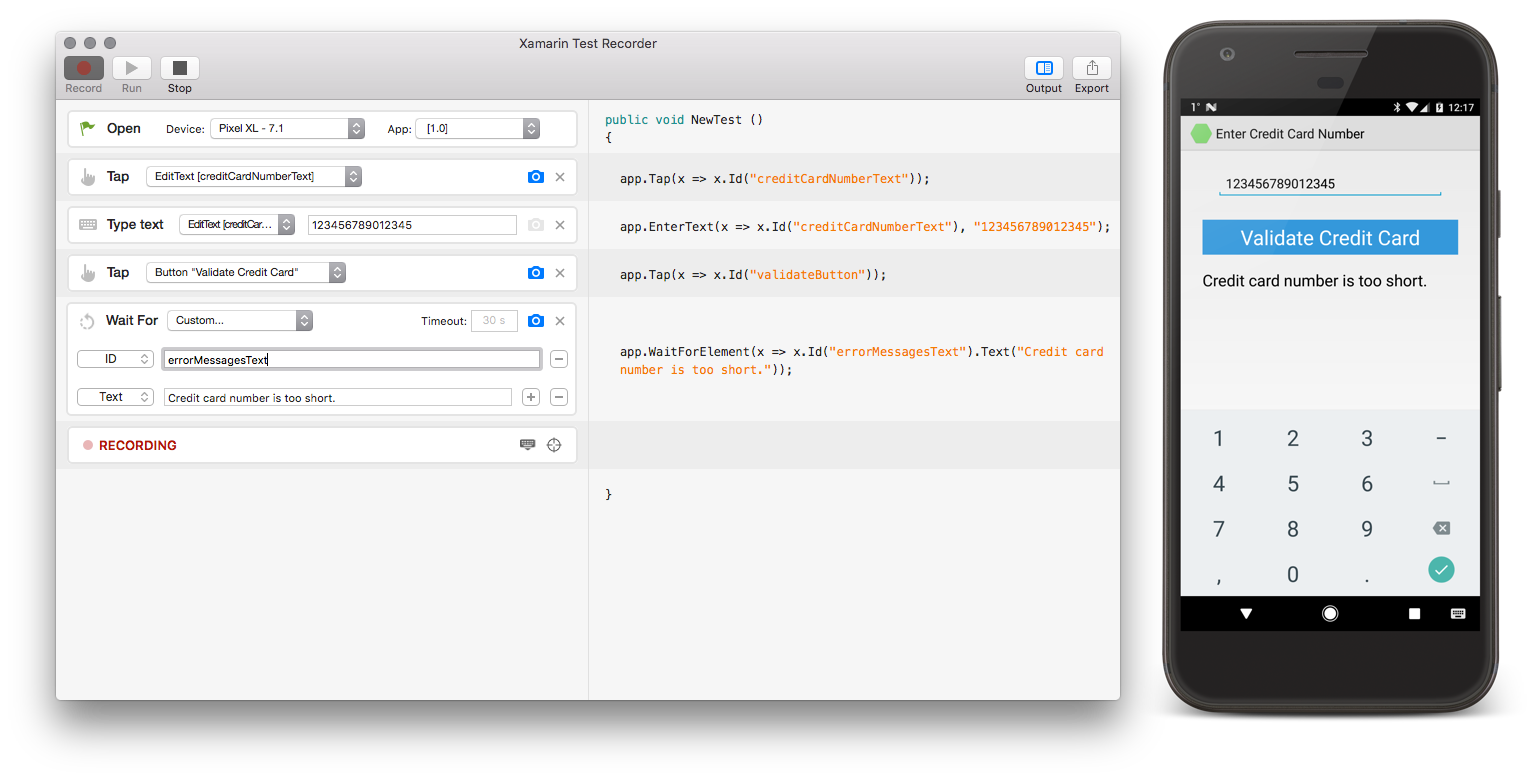
I really like to use the Xamarin UI Test Recorder to get the inital scaffolding of a UI test built and then tweak it from there. Using the recorder, you simply tap/type/swipe around the app and use it like you normally would, and the test recorder translates that into Xamarin.UITest commands that make up your automated UI test.

More info on how to get started writing and running Xamarin UI tests can be found here
Okay, so you’ve got some UI tests written and running locally on simulator or device - great. Now we want to run them in Xamarin Test Cloud on that huge collection of real mobile devices they’ve got. 3017 last I heard. The following directions are for an iOS build, but should be similar for Android too.
Let’s Do It
Here are the 5 pieces you need to integrate UI tests that run in Xamarin Test Cloud into your App Center builds:

Pieces #1 & #2
You have to be authenticated with App Center in order to run the “appcenter test run uitest” command.
Follow steps 1-9 here to generate an App Center API token.
Using the build configuration settings, create a new build environment variable named “appCenterLoginApiToken” or something. For its value, paste in the token you just generated. This env. variable can now be used in our post-build script.
Pieces #4, #3, and part of #5
Go to the Test beacon in App Center
![]()
and click on the grey Test Series button 
With App Center builds, you have the option to run launch app on a real device at the end of a build - just to make sure it’ll launch. That’s a test series App Center creates for you named launch-tests. You’ll want to create and name a new one - like “smoke-tests” or whatever.
Next, create a new test run by clicking on the New Test Run button. It guides you through picking your devices, the framework the test are written in (Xamarin.UITest for me), and generates the command to run the tests in App Center, filling in some of the info for you.

This really only gets you part of the way there though. After I copied that generated command, it took me exactly 34 builds before I had the UI tests working at all as part of my CI build. Thirty. Four. And that was with the help of App Center support. (Which is pretty great. They have a nice on-page chat window that you can paste screenshots into, and responses were usually quick). So hopefully this blog post will save you a bit of time.
For whatever reason, the directions from in App Center state to run the command in terminal on your LOCAL machine to run the tests in App Center. Well that is incredibly L-A-M-E. We don’t want to do stuff. We want the machines to do the stuff for us. Ya know, automation?
Good news - that command can be run as part of any Debug build pipeline by writing a tiny post-build bash script. It really only needs to contain that one line, and with the help of a guy that failed 33 times at it, you have nothing to worry about. (Note: for iOS, Xamarin UI tests are usually run on Debug builds.)
Piece #5
Here is the App Center CLI (Command Line Interface) command that I used in my script. Entire script file is included at the bottom of this post.
appcenter test run uitest --app "tomso/Pickster" --devices "tomso/top-devices" --app-path $APPCENTER_OUTPUT_DIRECTORY/Pickster.ipa --test-series "smoke-tests" --locale "en_US" --build-dir $APPCENTER_SOURCE_DIRECTORY/Pickster.UITests/bin/Debug --uitest-tools-dir $APPCENTER_SOURCE_DIRECTORY/packages/Xamarin.UITest.*/tools --token $appCenterLoginApiToken
Note that this command has 8 parameters, instead of the wimpy 6 that App Center generated for you. The extras are crucial, and are:
--uitest-tools-dir
and
--token
Let’s break down what each of these 8 parameters are. I’ll try to explain what they are and what values you’ll probably want to use for each.
Parameters 1 & 2
--app "tomso/Pickster"
--devices "tomso/top-devices"
These first 2 are generated for you and should be pretty straight-forward. Using App Center analytics I found the top 3 devices that users were running my app on, picked those devices when I created my new test run, and saved that device set under the name “top-devices”. A device set is the combination of devices and OS versions, and you can make whatever combination you’d like.
1 of 34 builds spent on these.
Parameter 3
--app-path $APPCENTER_OUTPUT_DIRECTORY/Pickster.ipa
First tricky parameter. This is the file path to the .ipa file your build produces. Yes, even though it’s a Debug build, it still creates an .ipa file if you’ve chosen to do Device Builds. Make sure you have in your App Center build configuration settings.

App Center has a environment variable that points to the folder that holds the artifacts of the build. Reference it in your bash script as $APPCENTER_OUTPUT_DIRECTORY + whatever your .ipa file name is.
5 of 34 builds spent on this.
Parameters 4 & 5
--test-series "smoke-tests"
--locale "en_US"
Last two easy ones. They’re both generated for you. The first is the name of the Test Series you created and named earlier in App Center, and I have no idea what the second one is for. I speak english, so I just left it there. ¯_(ツ)_/¯
1 of 34 builds spent on these.
Parameter 6
--build-dir $APPCENTER_SOURCE_DIRECTORY/[your Xamarin UI Test project name]/bin/Debug
The generated command simply suggests “pathToUITestBuildDir” for this parameter value. Yes, make no mistake, this is really the UI test project build directory. Your Xamarin UI Test project MUST be built as part of your App Center build, so that meant for me, I had to chose to build the app solution file in my App Center CI build - not simply the iOS project like I normally would. When built, the output goes into the $APPCENTER_SOURCE_DIRECTORY, specifically in the /bin/Debug folder.
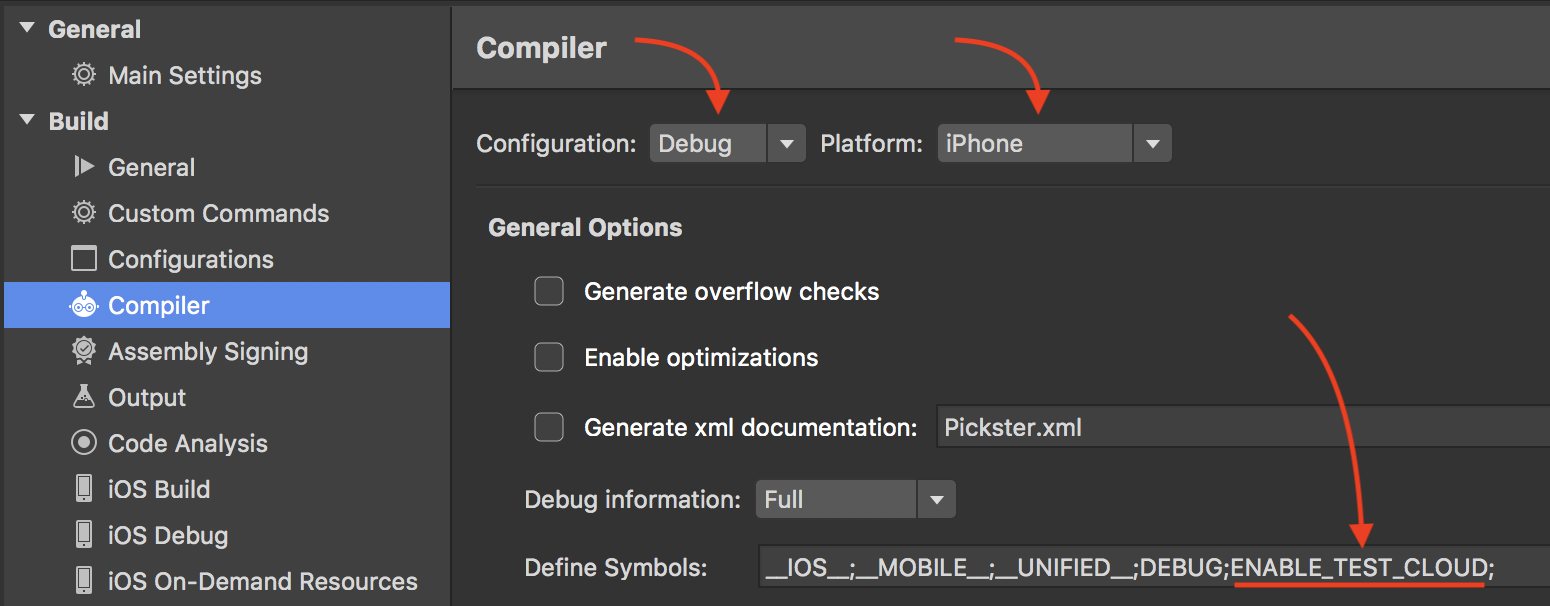
12 of 34 builds spent on this. Part of what made this so tricky is that I was missing a compiler symbol in the properties of my iOS project. So far, I had only run the UI Tests on a simulator, so I had to add this compiler symbol to my Debug - iPhone configuration.

For reference, I’m using the ENABLE_TEST_CLOUD symbol in my AppDelegate to start up Calabash. Could also use DEBUG, probably.

Parameter 7
--uitest-tools-dir $APPCENTER_SOURCE_DIRECTORY/packages/Xamarin.UITest.*/tools
This is the folder where test-cloud.exe lives. You’ll find this in: /packages/Xamarin.UITest.[whatever version number]/tools in $APPCENTER_SOURCE_DIRECTORY.
Notice that I’m using globbing (* character) in place of the version number portion (2.2.1 for example), so that when you update this NuGet package to a new version number it won’t break your script.
7 of 34 builds spent on this.
Parameter 8
--token $appCenterLoginApiToken
This is where you put the name of the App Center build environment variable that contains your App Center API token that you generated (piece 1 and 2). It’s best to use an env. variable so you don’t have to check in a sensitive API key into source control.
9 of 34 builds spent on this. I didn’t know this parameter even existed for a long time, and haven’t seen any documentation that mentions it (yet). Thanks to the great App Center support for providing this for me!
Final Script Details
The post-build script needs to be named exactly “appcenter-post-build.sh”, and checked into your source repository in the same folder your solution (.sln) file lives in, since my App Center build builds my app solution file. You’ll know it’s in the right spot when you see this in your build configuration settings:

Here’s more info on the 3 types of App Center build scripts you can write.
My Script File
Troubleshooting
Even with this guide, things will fail while you’re getting everything right. The most common error is when App Center can’t find a file that you’ve specified. The best advice I can give to troubleshoot that, is to just list out the files of the directory where you think the file is. Chances are, it’s named something you didn’t expect, or in a sub-folder you didn’t know was there.
To list the files in a directory, just add a ls [your folder name] command to the build script file. It will be the best way to track down these types of errors.
echo "list files in APPCENTER_OUTPUT_DIRECTORY"
ls $APPCENTER_OUTPUT_DIRECTORY
Enjoy!
Enjoy sitting back, sipping lemonade while the machines do your bidding.
One final tip; during the App Center trial, testing hours are UNLIMITED in Test Cloud for 30 days, so go nuts!

Please feel free to contact me on twitter if you have questions or feedback!